2023 Installation tips
Making sure you have everything
Menus
This first release of LightWave 2023 is a little bit more involved than you are used to, but don't worry - we've got you. To gain access to the huge quantity of Pro Tools plugins, the amazing TurbulenceFD or Octane's rapid GPU rendering, we just need to do a little housework.
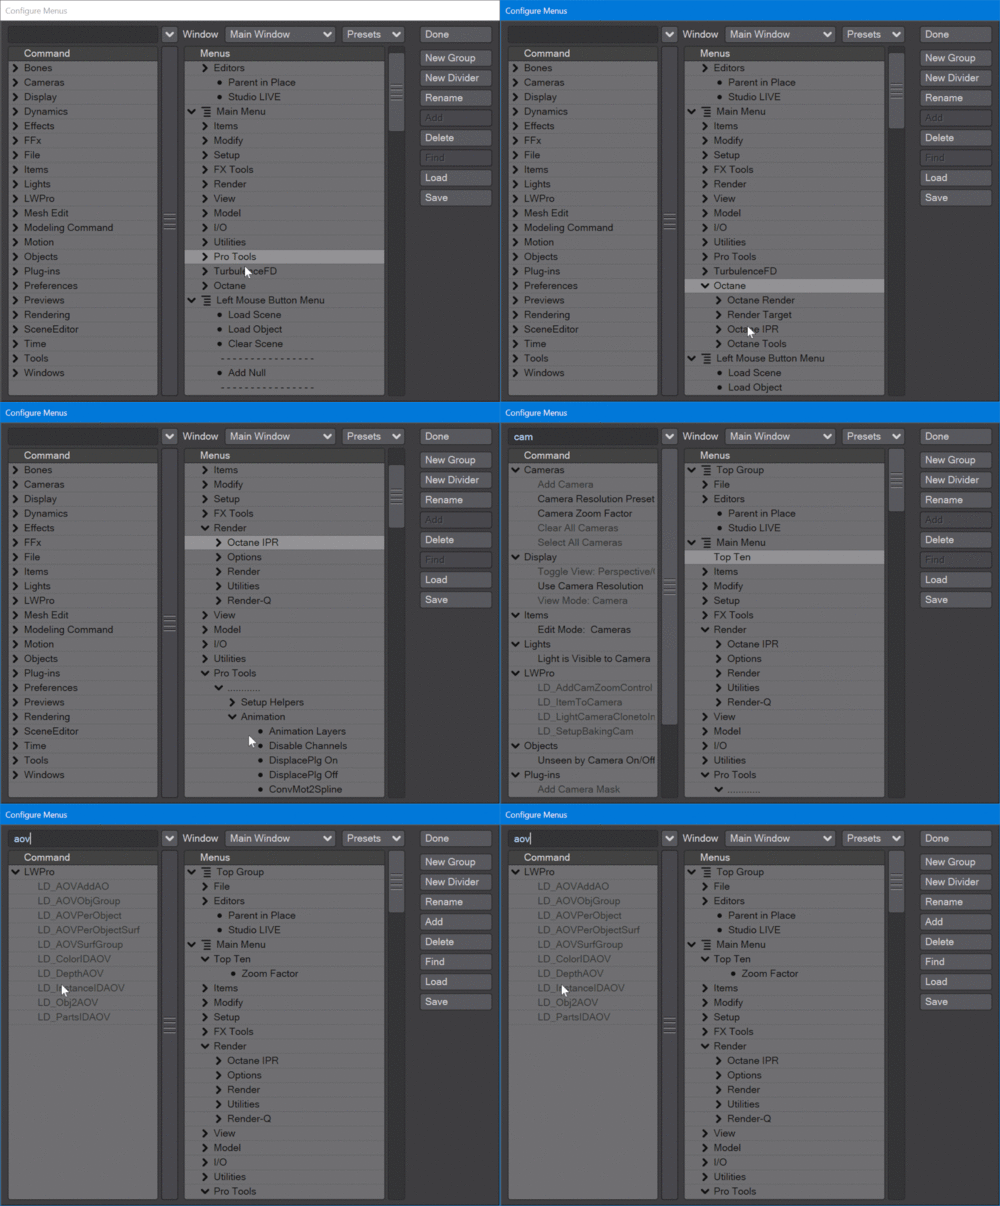
First things first. Start Layout and license LightWave if you haven't already done so. Restart Layout once licensed. Now, Go to the Edit menu and choose Edit Menu Layout or hit Alt-F10. In the right-hand list, over the Main Menu entry, RMB-click to get a Menu Branch menu.

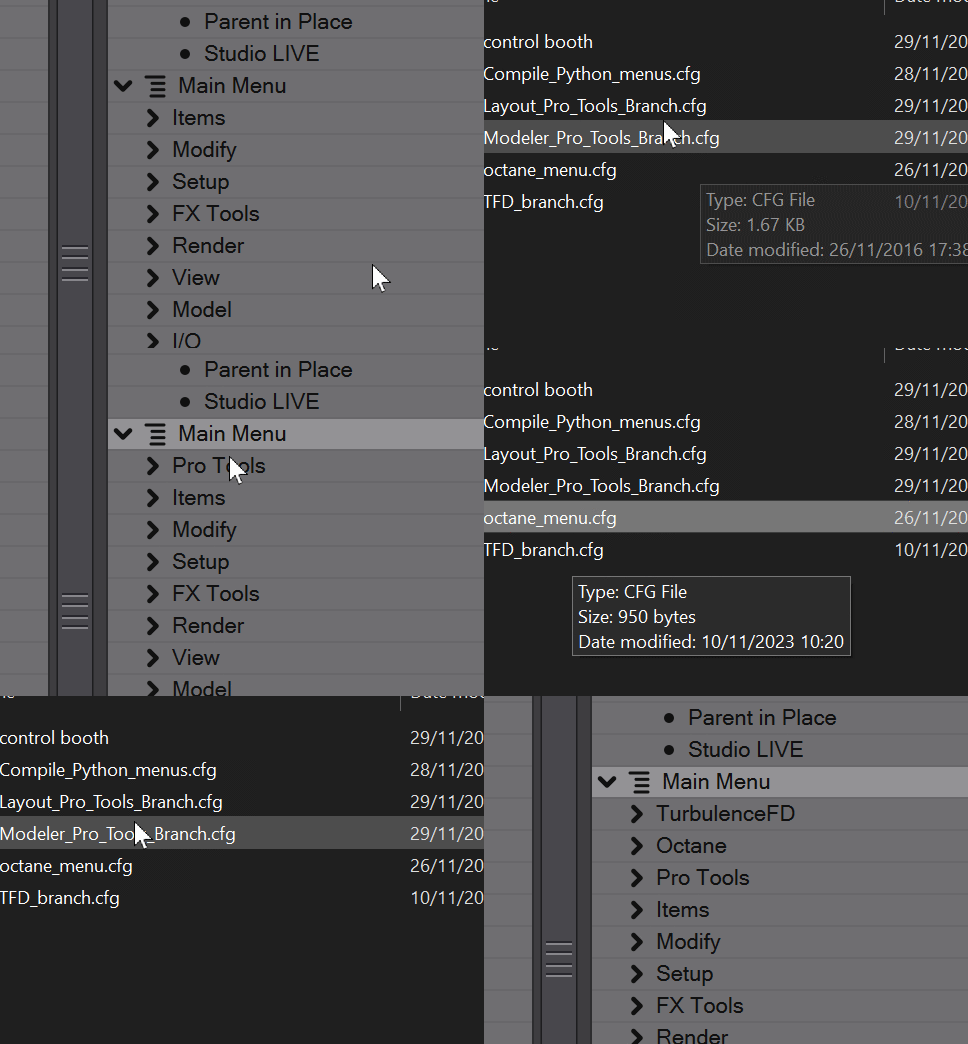
Choose Import Branch as shown and go to your LightWave install folder > support > configs, to find the branch you want. There are five entries, as follows:
- Compile_Python_menus.cfg - A menu for tools for compiling Python scripts. Probably not one that everyone will need
- Layout_Pro_Tools_Branch.cfg - This is the menu branch that contains items for every one of the Pro Tools plugins
- Modeler_Pro_Tools_Branch.cfg - The same, for use in Modeler
- octane_menu.cfg - A branch for the Octane renderer plugin
- TFD_branch.cfg - A branch for TurbulenceFD
You will need to bring these in one by one, then you can arrange them as you like. This can be done inside the Edit Menu Layout window, but it's a bit finicky. An easier method is to drag and drop tabs in Layout itself. Click on a menu tab and drag it left or right.

This is the basic menu system, but you can customise it as you like. Want the Octane options on the Render tab? Drag individual groups of menu items to where you want them (this will need to be done inside Edit Menu Layout). Is there a top ten of Pro Tools you want for quick access? Make a new menu tab and populate it with the tools you choose, using the search field at the top left.

Keyboard shortcuts
The same goes for keyboard shortcuts. Going to Edit > Edit Keyboard Shortcuts or hitting Alt-F9 will bring up the Configure Keys editor. You can change assignments or add to them here. Move your mouse to the right side of the window and scroll until you find the shortcut you want to use - you can also just try them on the keyboard and the list will jump to the right place. Then, use the Search field at the top left to find the tool you want and hit Assign.
Presets Manager tools

The Pro Tools Presets Manager needs a couple of extra tools installed for proper functionality. The first is WinHDRTools, which you will find in the support folder. Just extract the files to a folder called WinHDRTools in support. The second is NConvert, which you need to download and just copy the extracted zip to your LightWave/support folder. Finally, use the requesters in this window to point to the executables for each.
